
Starting a vlog can feel overwhelming, but breaking it down into bite‑size steps makes it doable. This guide walks you through everything a total newbie needs - from choosing a niche to hitting "publish" on the first video.
Key Takeaways
- Define a narrow niche and clear goals before recording.
- Invest in basic gear that fits your budget: a decent camera, microphone, and simple lighting.
- Master a few core filming techniques and keep your edits short and engaging.
- Publish on a platform like YouTube with optimized titles, thumbnails, and tags.
- Avoid common pitfalls such as over‑editing and inconsistent publishing schedules.
1. Pick Your Niche and Set Realistic Goals
Before you even turn on a camera, ask yourself what you want to talk about and who will watch. A narrow niche - like "budget travel in the UK" or "home coffee brewing" - helps you attract a specific audience faster than a vague "daily life" channel.
Write down two short‑term goals (e.g., "post three videos in the next two weeks") and one long‑term goal (e.g., "reach 1,000 subscribers in three months"). Goals give you a roadmap and keep motivation high.
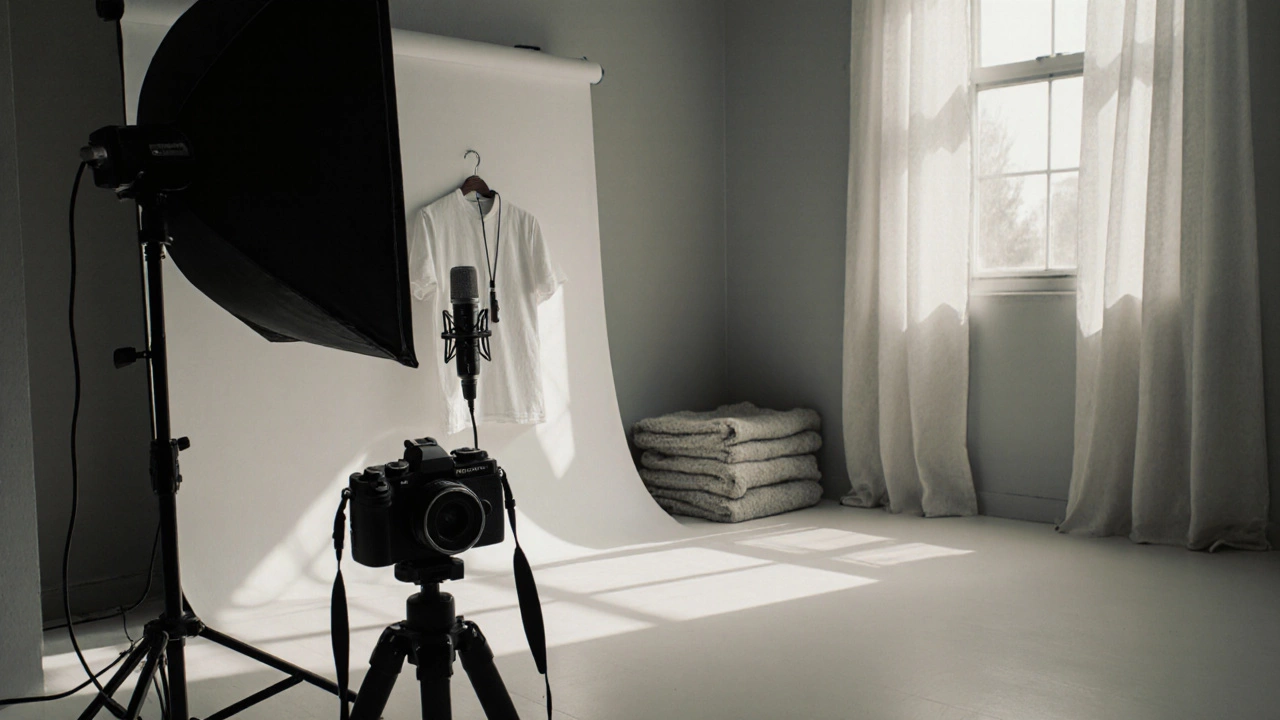
2. Choose the Right Gear Without Breaking the Bank
Camera is a device that captures video footage. For beginners, a modern smartphone (12MP, 4K) works fine, but if you can stretch a bit, a mirrorless camera offers better low‑light performance and interchangeable lenses.
Microphone is a tool that records clear audio, reducing background noise. Clip‑on lavalier mics under $30 are a game‑changer compared to built‑in phone mics.
Lighting is a set of light sources that illuminate your subject. A simple 3‑point kit with softboxes or even a ring light can make your video look professional.
Don’t forget a sturdy Tripod (a support that holds the camera steady) to avoid shaky footage.
3. Set Up a Simple Recording Space
Find a quiet corner with minimal echo. Use a blanket or foam panels behind you to dampen reflections. Position your light at a 45‑degree angle to avoid harsh shadows, and make sure the background is tidy - a plain wall or a bookshelf works well.
4. Learn Core Filming Techniques
Keep shots steady, frame yourself using the rule of thirds, and speak clearly into the mic. Record in landscape mode (16:9) for YouTube compatibility. Aim for 3‑5minutes per video when you’re just starting - short enough to keep viewers’ attention, long enough to convey value.
5. Edit Your First Video Efficiently
Editing Software is a program that lets you cut, arrange, and polish video clips. Free tools like DaVinci Resolve or iMovie cover the basics: trimming, adding music, and inserting captions.
Follow a simple workflow:
- Import raw footage and audio.
- Trim clips to the most engaging parts.
- Add a catchy intro (5‑10seconds) and a call‑to‑action at the end.
- Include background music at a low volume to set mood (make sure it’s royalty‑free).
- Export using the MP4 format (a widely supported video file type) with 1080p resolution.
6. Publish and Promote on the Right Platform
YouTube is a video‑sharing site that offers massive reach and built‑in analytics. When uploading, craft a title that includes your main keyword - for example, "vlogging for beginners: My First Travel Vlog".
Write a concise description (2‑3 sentences) with relevant tags, and design an eye‑catching thumbnail. A thumbnail that shows a clear face and a bold text overlay boosts click‑through rates by up to 30%.
Share the video link on your social channels, relevant sub‑reddits, and any niche forums. Engaging with the first few commenters builds community early on.
7. Common Pitfalls and Pro Tips
Pitfall 1: Over‑editing. Adding too many transitions or effects distracts from the content. Keep it simple - a clean cut, a little music, and occasional captions are enough.
Pitfall 2: Inconsistent schedule. Audiences grow when they know when to expect new videos. Set a realistic publishing cadence (once a week or bi‑weekly) and stick to it.
Pro Tip: Batch filming. Record multiple short videos in one session, then edit them over the next few days. This reduces setup time and keeps momentum.
Pro Tip: Use analytics. YouTube’s "Watch time" and "Audience retention" graphs reveal which parts of your video keep viewers hooked. Trim or re‑record low‑performing sections in future videos.
Camera Comparison for New Vloggers
| Camera Type | Price (USD) | Resolution | Low‑Light Performance | Portability |
|---|---|---|---|---|
| Smartphone (e.g., iPhone 15) | ~800 | 4K @ 60fps | Good | Very high |
| Mirrorless (e.g., Sony ZV‑E10) | ~900 (body only) | 4K @ 30fps | Excellent | High |
| DSLR (e.g., Canon EOS 90D) | ~1200 (body only) | 4K @ 30fps | Very good | Medium |
Next Steps for Your First Vlog
1. Write a one‑sentence channel description that tells viewers exactly what you’ll cover.
2. Draft a script for a 3‑minute introductory video (include who you are, what you’ll share, and a call‑to‑action).
3. Set up your filming space, test audio levels, and record a short test clip.
4. Edit the clip, add a title card, and export as MP4.
5. Upload to YouTube, craft a keyword‑rich title, and publish.
Frequently Asked Questions
Do I need a fancy camera to start vlogging?
No. A recent smartphone that records 4K video is sufficient for the first few months. Upgrade only when you outgrow its capabilities.
How often should I upload new videos?
Consistency matters more than frequency. Aim for one video per week or every two weeks, depending on the time you can commit.
What free editing software works best for beginners?
DaVinci Resolve offers a powerful free tier, and iMovie (Mac) provides an intuitive interface. Both cover trimming, color correction, and basic titles.
How can I improve audio quality on a budget?
Invest in a clip‑on lavalier mic (around $20-$30) and record in a quiet room. Adding a small foam windscreen can further reduce hiss.
Should I create a thumbnail before uploading?
Yes. A custom thumbnail with a clear face and bold text boosts click‑through rates. Use free tools like Canva to design it quickly.